
OpenWrt 上通过 Tailscale 实现内网穿透
💡
😀 近日用 章鱼星球S912 配置了旁路网关,体验还行。后面想着配置一下内网穿透以便在外出时可以与内网设备交互。之前有朋友推荐用 Tailscale 很方便,本博客由此而来。
安装 Tailscale
我这里是使用的这个项目,读者可以考虑其他方式部署:
https://github.com/adyanth/openwrt-tailscale-enabler
具体的指令如下:
- 通过
ssh连接到 OpenWrt:
1 | ssh root@<IP> |
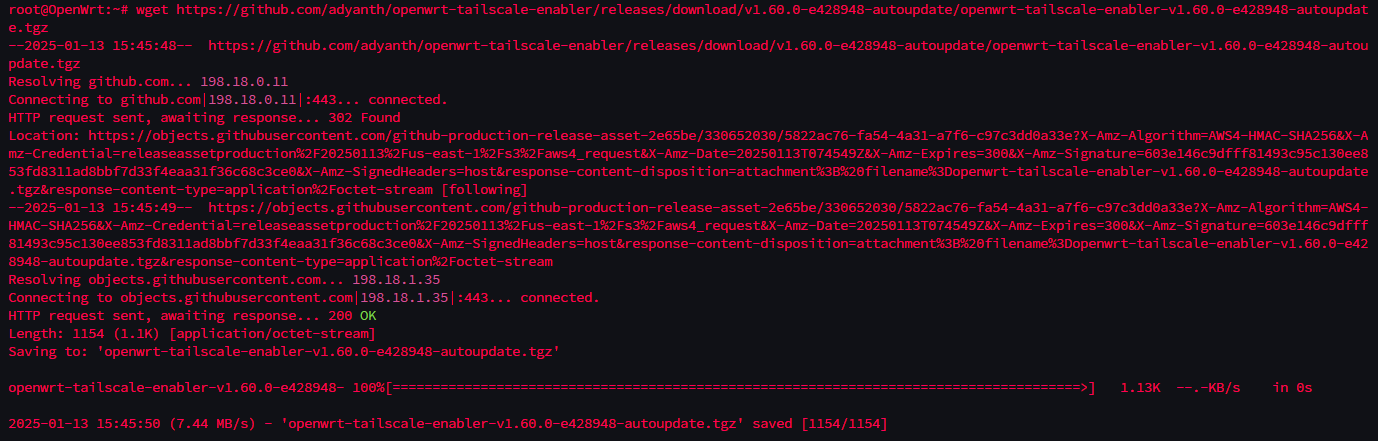
- 下载该项目(项目版本可以自选)
1 | wget <https://github.com/adyanth/openwrt-tailscale-enabler/releases/download/v1.60.0-e428948-autoupdate/openwrt-tailscale-enabler-v1.60.0-e428948-autoupdate.tgz> |
解压刚才下载下来的这个项目
1
tar x -zvC / -f <File Name>

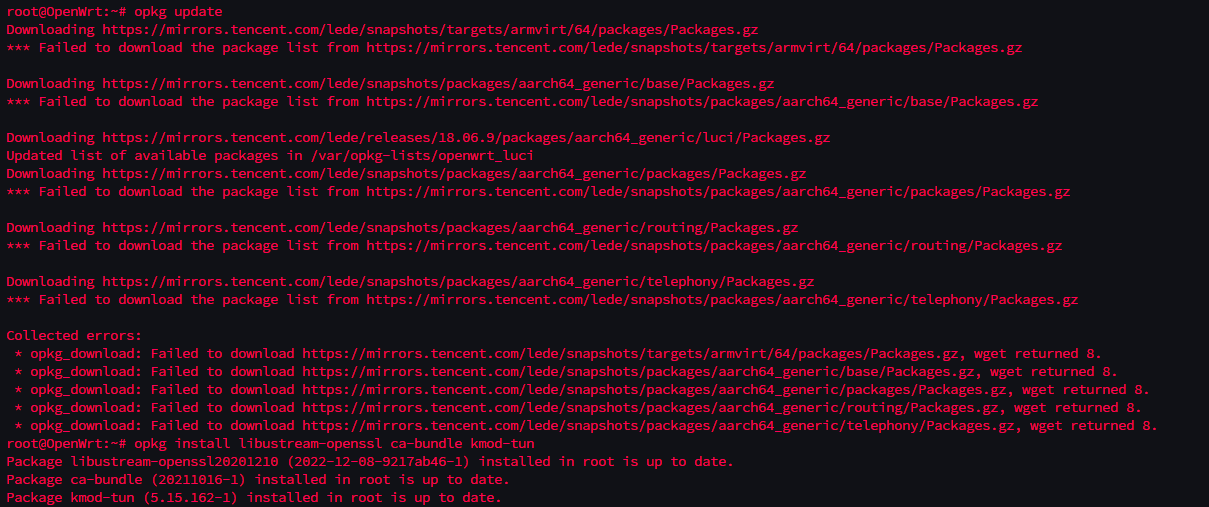
更新并安装依赖
1
2
opkg update
opkg install libustream-openssl ca-bundle kmod-tun设置开机自启动
1
2
/etc/init.d/tailscale enable
ls /etc/rc.d/S*tailscale*启动 Tailscale
1
2
/etc/init.d/tailscale start
tailscale up开启子网路由
1
tailscale up --accept-routes --advertise-routes=192.168.1.0/24 --accept-dns=false
注意:其中 advertise-routes 的参数格式可能不一样。简单来说,取你当前 OpenWrt 的IP地址的前三部分,最后一部分为 0,并且子网掩码 255.255.255.0 即可。即
<原>.<原>.<原>.<0>/24比如,我的 OpenWrt 的IP为192.168.1.254,那么我这里就需要192.168.1.0/24在 Tailscale 控制台设置路由设置,勾选并保存


配置 OpenWrt
配置网络接口
在 LuCI 界面中:
- 添加接口
- 转到 网络 > 接口 > 添加新接口。
- 名称:
tailscale - 协议:静态地址
- 设备:选择
tailscale0 - IPv4 地址:填写 Tailscale 分配给路由器的 IP(如
100.x.x.x)。 - 子网掩码:
255.0.0.0 - 防火墙区域:选择
lan。
- 保存并应用更改。


添加防火墙规则
在 LuCI 界面中:
- 转到 网络 > 防火墙 > 自定义规则。
- 添加以下内容以允许 Tailscale 流量通过:
1 | iptables -I FORWARD -i tailscale0 -j ACCEPT |
- 保存并重启防火墙。

这样就完成了。
- Title: OpenWrt 上通过 Tailscale 实现内网穿透
- Author: Neurocoda
- Created at : 2025-02-13 13:19:33
- Updated at : 2025-02-13 13:19:33
- Link: https://neurocoda.com/p/da267693.html
- License: This work is licensed under CC BY-ND 4.0.


Comments