Mac 实现 Ubuntu 风格的 ll 命令
为什么需要 ll 命令?
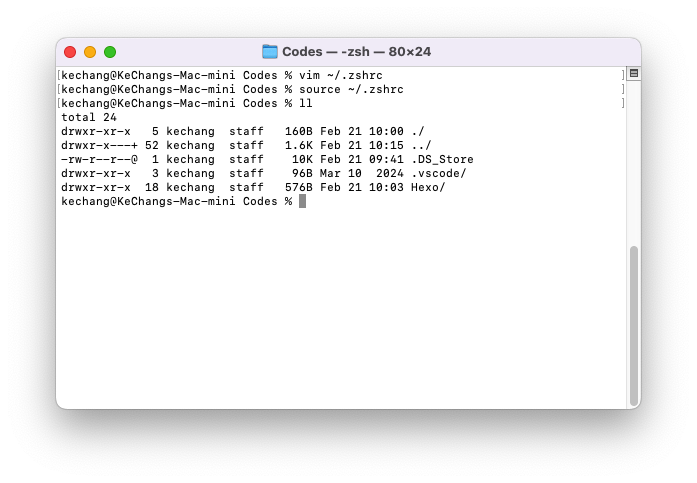
在 Ubuntu 系统中,ll 是 ls -alF 的默认别名,能直观展示:
- 文件权限
- 所有者信息
- 文件大小
- 隐藏文件
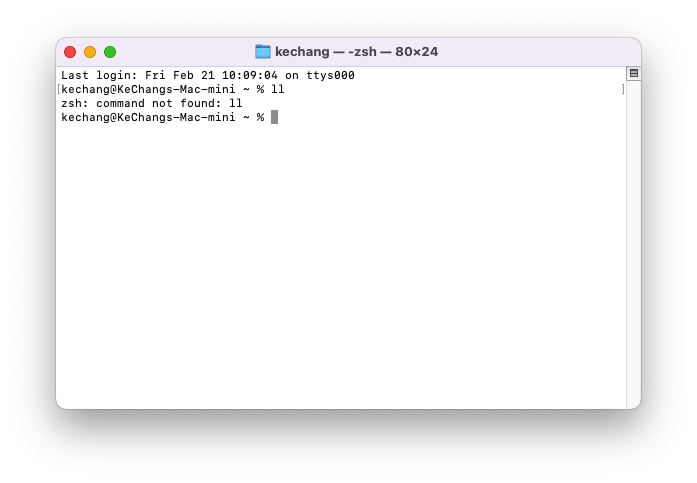
而 Mac 终端默认未配置该别名,本文教你快速实现这个生产力工具。
三步配置教程
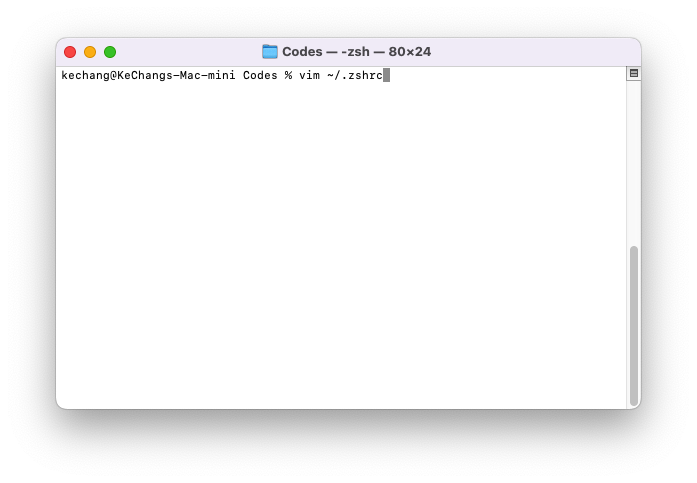
步骤 1:定位配置文件
- 打开终端(Terminal)
- 输入以下命令编辑配置文件:
1 | vim ~/.zshrc |
若使用 bash,请修改
~/.bash_profile
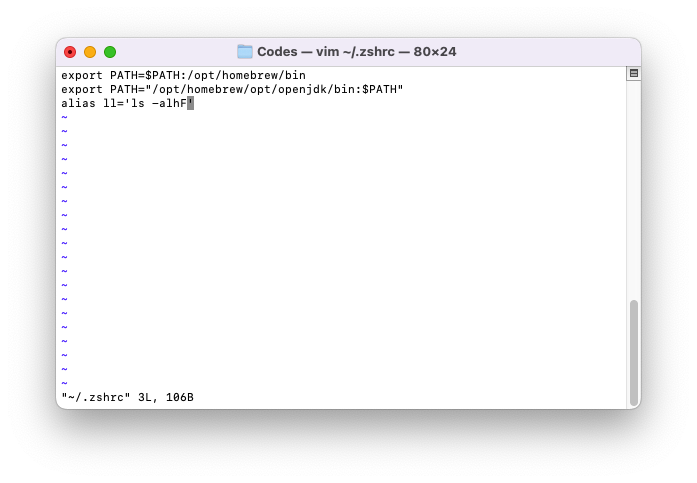
步骤 2:添加代码
在文件末尾插入其中的一项:
1 | # 等价 ls -l |
参数说明:
-a显示隐藏文件-l详细列表-h人类可读的文件大小(如 1K、234M)-F添加文件类型标识(/ 表示目录,* 表示可执行文件)
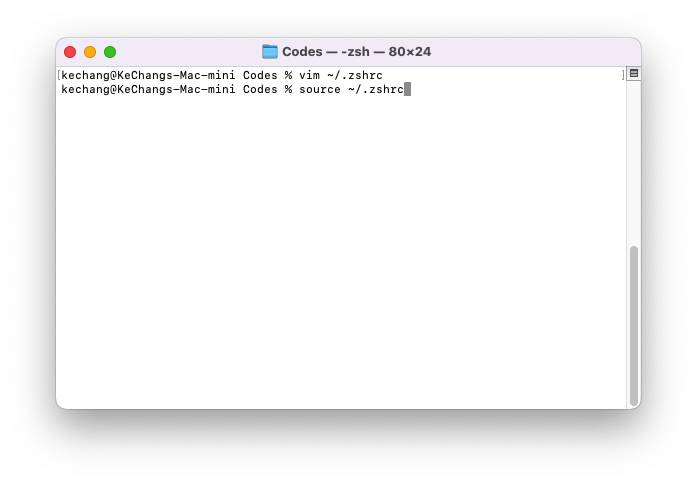
步骤 3:激活配置
1 | source ~/.zshrc |
效果验证
- Title: Mac 实现 Ubuntu 风格的 ll 命令
- Author: Neurocoda
- Created at : 2025-02-21 10:17:28
- Updated at : 2025-02-21 10:17:28
- Link: https://neurocoda.com/p/f6e35394.html
- License: This work is licensed under CC BY-ND 4.0.
Recommend


Recommend
Comments